Fitting a Walk In Shower in a Small Bathroom
Walk in showers have a reputation for needing space they do not actually require. The idea that a walk in shower belongs only in a generously sized bathroom is one of those assumptions that persists because most walk in showers shown in photographs are large, because large spaces photograph well and small spaces are harder to make look desirable. The reality is that a properly designed walk in shower in a small bathroom often works better than a shower enclosure with a tray and a door because removing the door removes the most space consuming element of a conventional shower while simultaneously making the room easier to clean and easier to move around in.
I have a bathroom that is under four square meters and it has a walk in shower that works beautifully. The key was understanding that a walk in shower in a small space requires specific decisions about size, layout, drainage, and screening that are different from the decisions made in a larger bathroom. Getting those decisions right turns a format that seems to require generous space into one that suits a small bathroom better than the alternatives. These 16 ideas cover every aspect of fitting a walk in shower into a small bathroom successfully from the minimum dimensions that actually work to the finishing details that make the shower feel considered rather than compromised.
1. Understand the Minimum Dimensions That Work
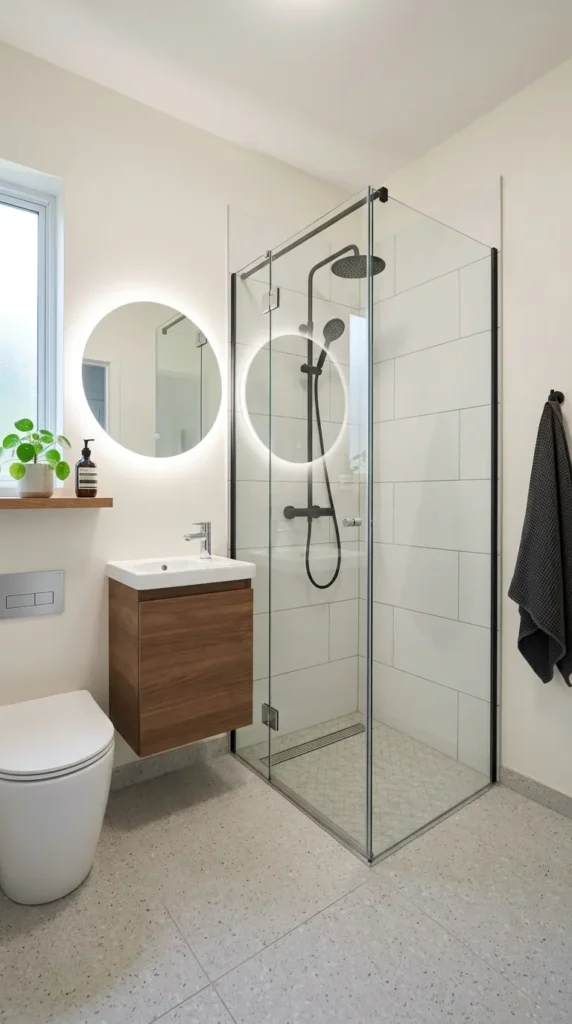
A walk in shower needs a minimum internal dimension of 800mm by 800mm to be usable comfortably. At this size the shower is tight but functional for a single user. A 900mm by 900mm internal dimension is noticeably more comfortable and is the minimum worth aiming for in a small bathroom where layout allows it. A 900mm by 1200mm or 900mm by 1000mm rectangular format provides a shower that feels genuinely spacious despite its compact footprint.
The minimum dimension applies to the internal usable area of the shower rather than to the total floor area the shower occupies. A shower with a 100mm threshold or a wall on one side needs additional space beyond the minimum internal dimension. Planning the shower from the internal dimension outward rather than from the total floor space inward ensures the shower is usable rather than simply present in the room.
2. Use a Linear Drain to Allow True Wet Room Layout
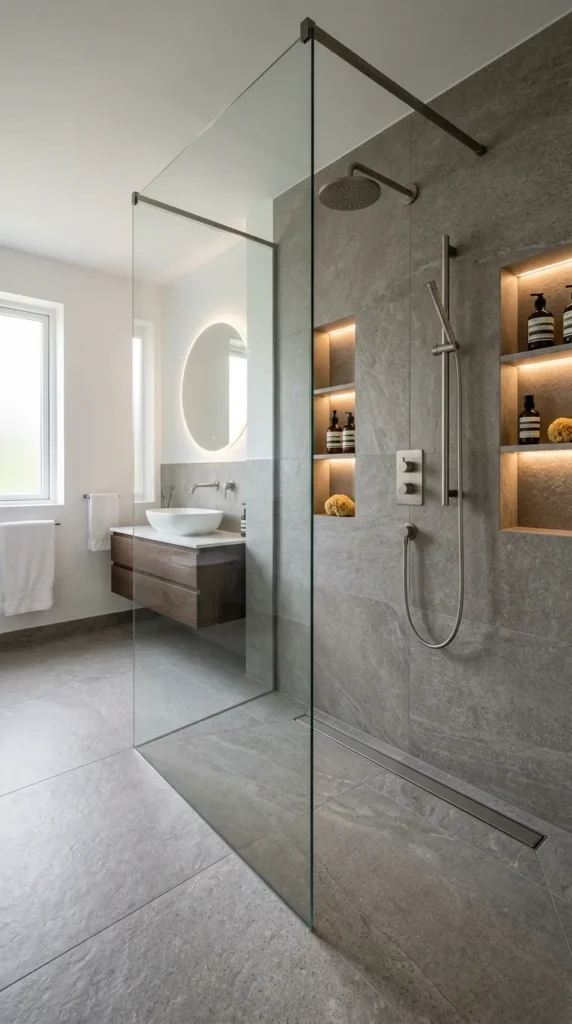
A linear drain rather than a conventional central drain allows the entire shower floor to slope toward a single edge rather than toward a central point. This single direction slope is significantly easier to tile accurately than the four direction slope required by a central drain and creates a floor surface that reads as flat rather than dished which makes the shower look larger and more refined.
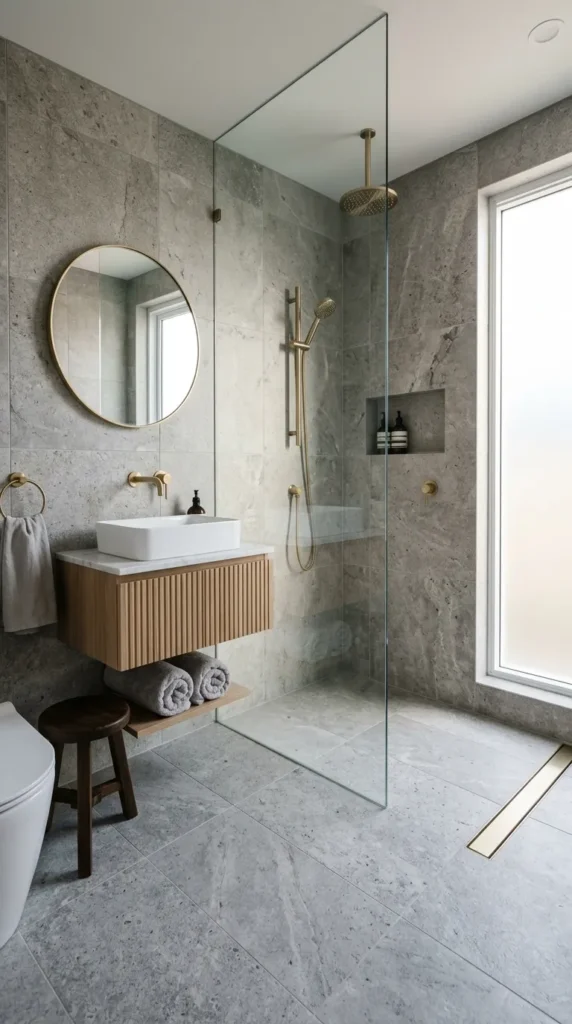
A linear drain positioned against one wall of the shower allows the shower floor tile to run continuously from the bathroom floor into the shower without interruption. When the same tile is used across both surfaces with only the linear drain marking the boundary of the wet zone the bathroom floor and the shower floor read as a single continuous surface which makes both the shower and the room feel larger than they are.
3. Go Frameless on the Glass Screen
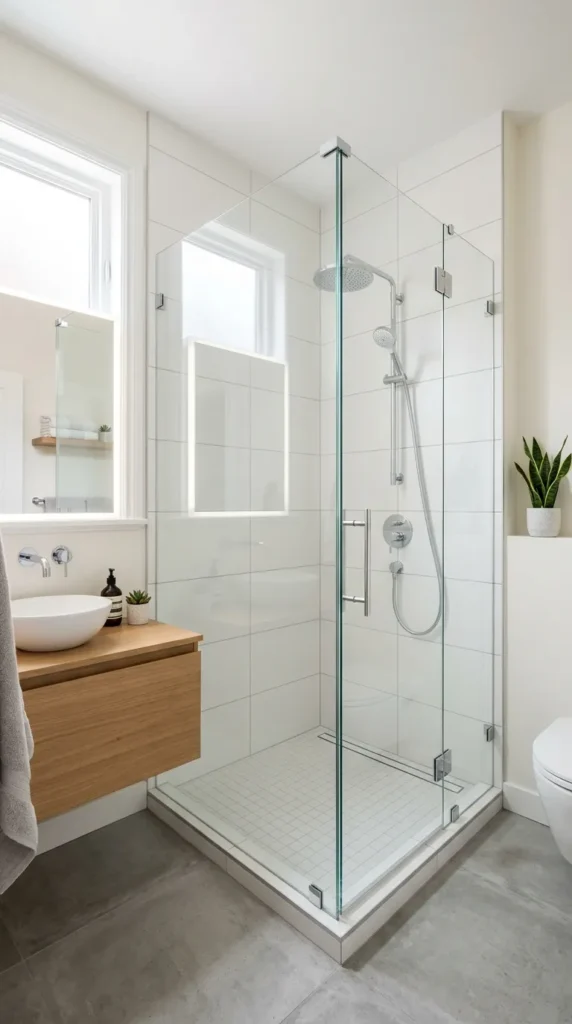
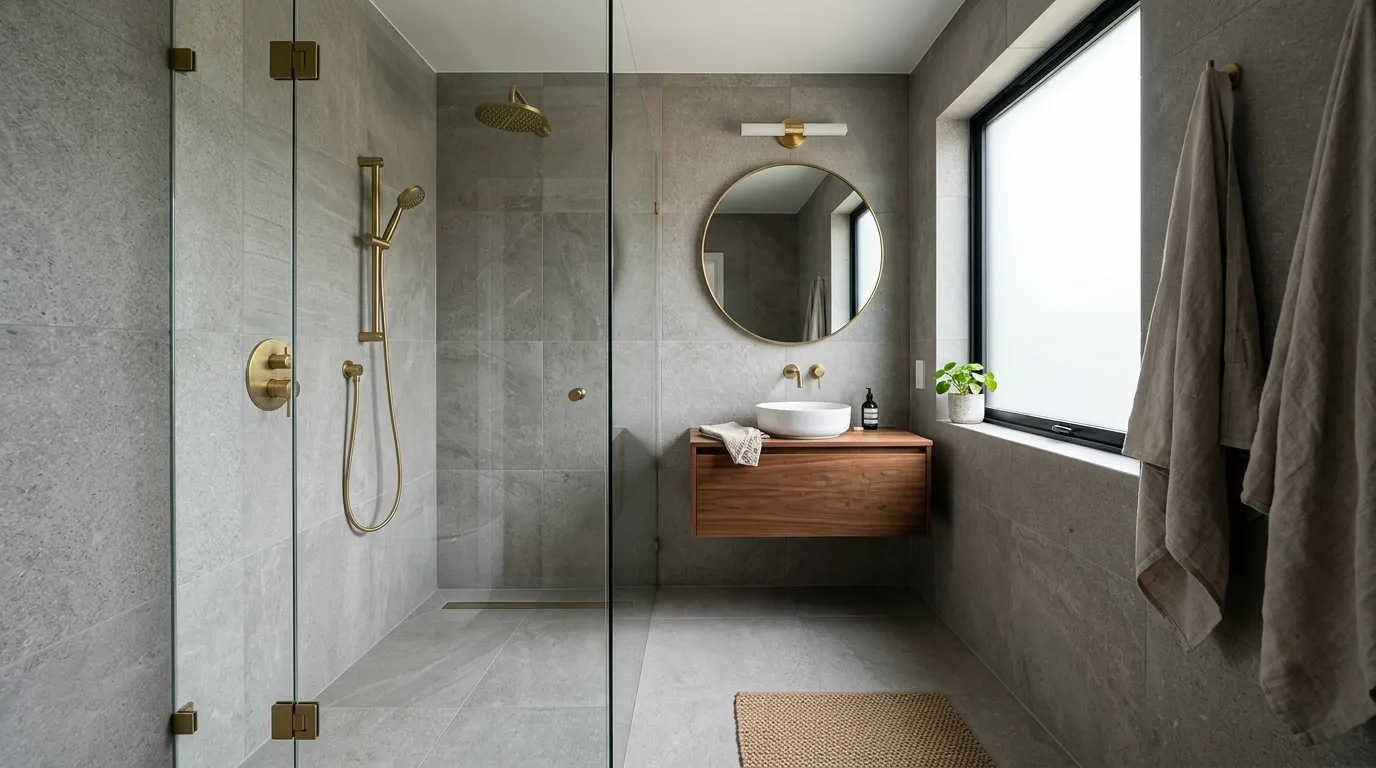
A frameless glass shower screen rather than a framed or semi frameless version removes the visual weight of the metal frame from the shower enclosure and allows the eye to travel through the glass into the shower space rather than stopping at a metal border. In a small bathroom where sightlines are short and every visual element is close enough to be seen in detail the difference between a framed and frameless screen is significant.
Frameless glass also makes the shower easier to clean because there are no frame channels to accumulate soap residue and mold. A 10mm glass panel is the minimum thickness for a stable frameless screen. Thicker glass at 12mm feels more substantial and flexes less noticeably which creates a higher quality impression in a small space where the screen is always within arm’s reach.
4. Consider a Single Fixed Panel Rather Than a Door
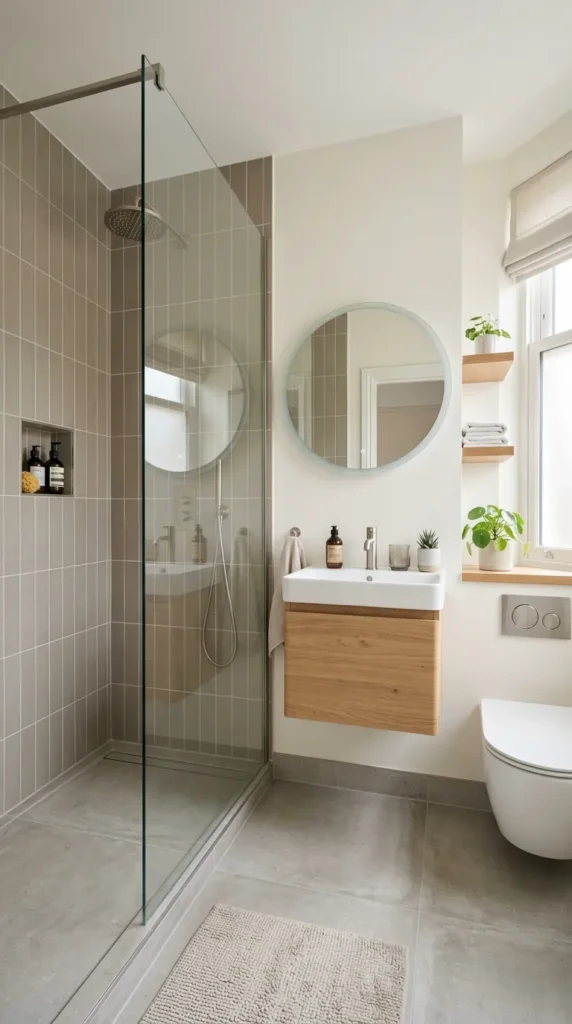
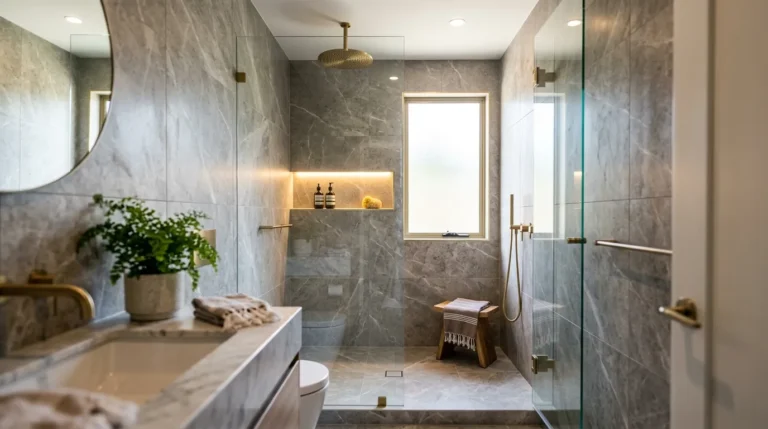
A single fixed glass panel on one side of a walk in shower rather than a hinged or sliding door creates the most open and space efficient shower screening available. A fixed panel has no moving parts, no door arc, no sliding mechanism, and no frame complexity. It simply directs water into the shower zone while leaving the entry open.
The fixed panel works best when the shower is positioned so the open entry faces away from the main bathroom floor area, directing any water spray toward the shower wall rather than into the room. A correctly positioned fixed panel keeps the bathroom floor dry during showering without requiring a door and the openness of the no door configuration makes the small bathroom feel significantly more spacious than any enclosed shower alternative.
Need even more compact shower inspiration? Explore 17 Small Shower Ideas with Big Impact for clever space saving designs.
5. Tile the Shower and Bathroom Floor in the Same Material
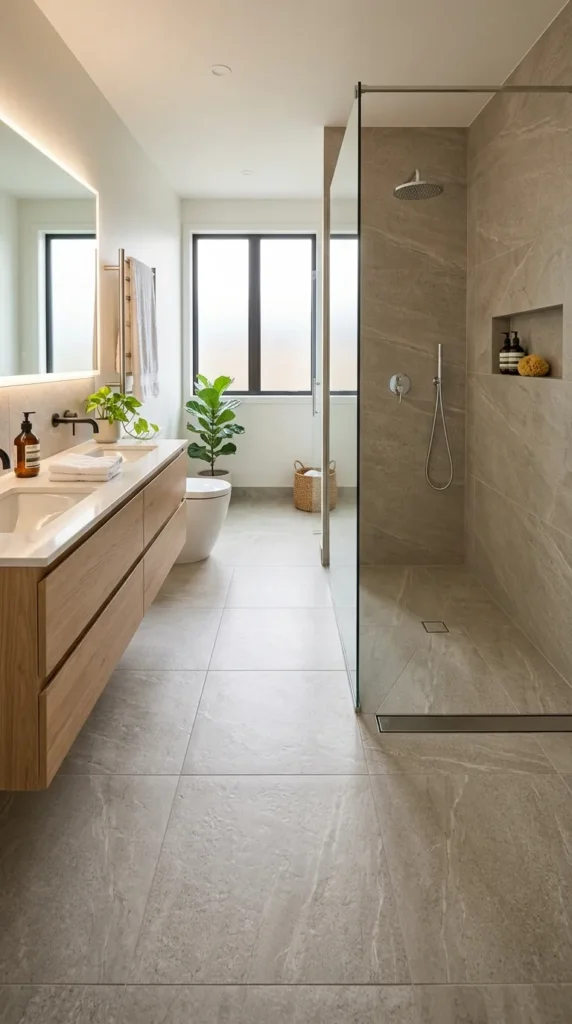
The fastest way to make a walk in shower in a small bathroom feel cramped is to use a different tile inside the shower than on the bathroom floor. The change of material at the shower boundary emphasizes the division between the wet zone and the dry zone and makes both areas feel smaller because neither reads as part of a continuous floor surface.
Using the same tile across the entire bathroom floor including the shower zone with only the linear drain marking the transition between wet and dry creates a floor that appears to run continuously through the room. The visual continuity makes the bathroom floor read as a single surface rather than two zones which makes both the shower and the room feel larger. The tile should have a slip rating appropriate for wet floor use throughout since the same tile will be used in the shower area.
6. Run the Shower Tile Floor to Ceiling on All Shower Walls
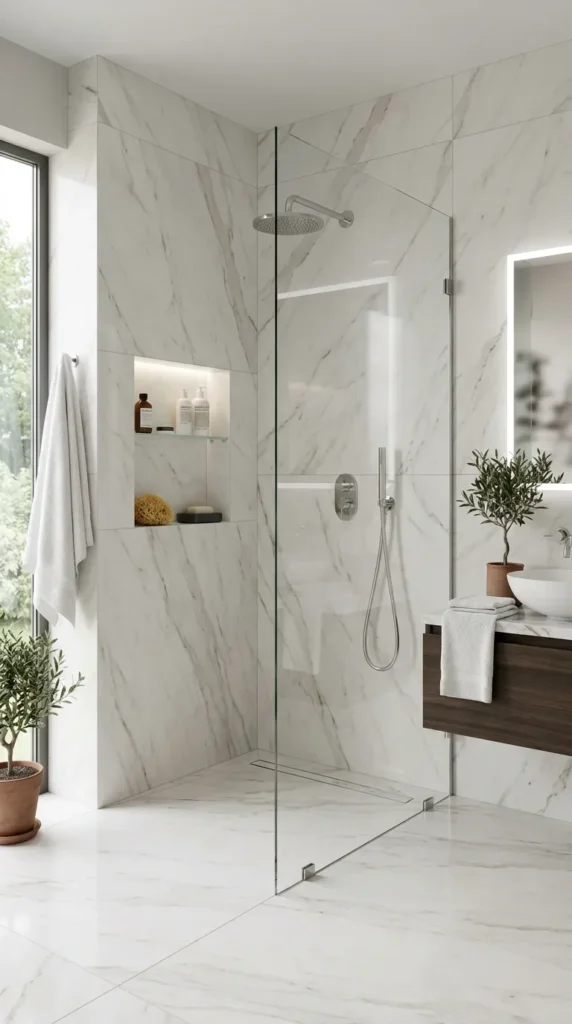
Taking the shower tile from the floor to the ceiling on every shower wall rather than tiling to a mid height and painting above creates a shower interior that feels complete and enclosed in a positive sense rather than a partial treatment that looks unfinished. Floor to ceiling tile in the shower also eliminates the painted surface above the tile line that is the most vulnerable to moisture damage in a shower environment.
Large format tiles on the shower walls with minimal grout lines create the most expansive shower interior in a small space because fewer grout lines mean fewer visual interruptions across the surface. A large format tile at 600mm by 600mm or 600mm by 1200mm on a shower wall that is 900mm wide creates a very small number of grout lines which allows the wall to read as nearly continuous rather than segmented.
7. Position the Shower Head on the Long Wall
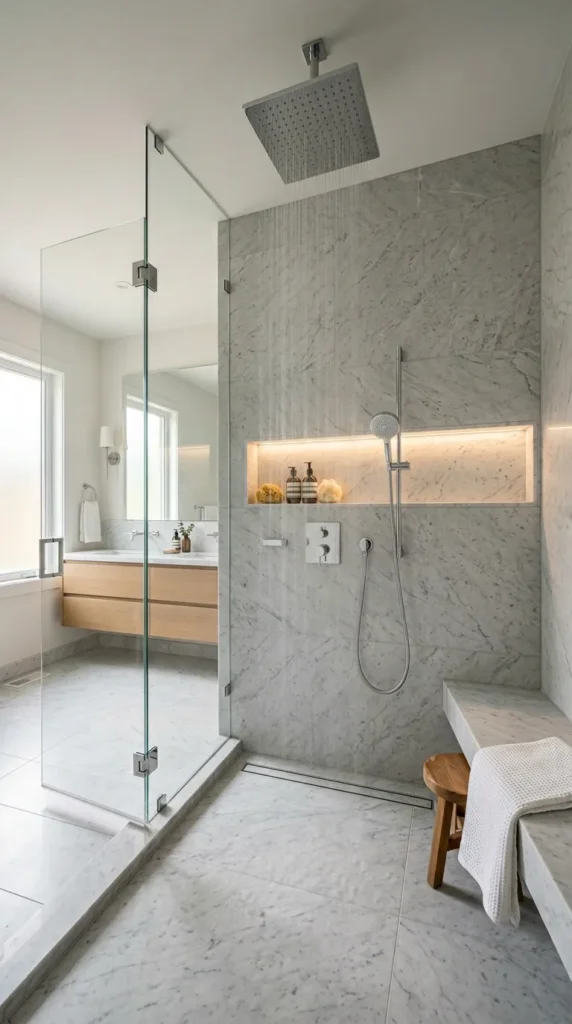
In a rectangular walk in shower the shower head positioned on the long wall rather than the short wall creates a more comfortable showering experience because the spray travels along the length of the shower rather than across its width. This means water is less likely to reach the open entry of the shower and the bather has more room between the shower head and the opposite wall.
A fixed overhead rain shower head positioned centrally on the long wall creates the most generous feeling shower experience in a compact space because the overhead position directs water downward rather than across which keeps the spray within the shower zone more effectively than a wall mounted head angled toward the user. A rain head also removes the need for a hand shower bracket on the wall which reduces the number of fittings and visual elements in a small shower.
8. Recess the Shampoo Niche Into the Wall
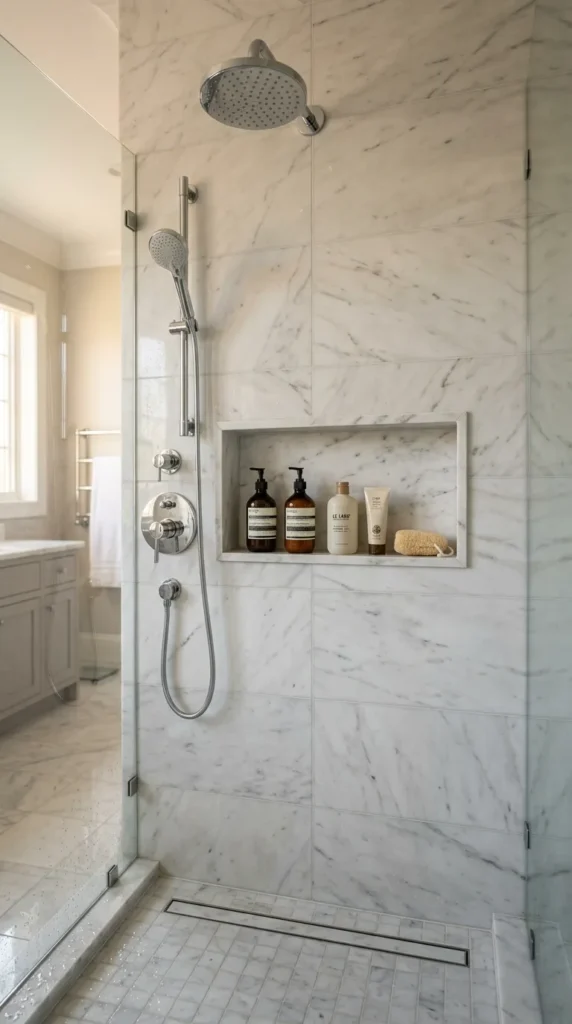
A recessed niche built into the shower wall holds shampoo bottles and soap within the shower zone without projecting into the already limited shower space. A surface mounted shelf or a corner caddy that projects into the shower reduces the usable internal dimension of the shower by the depth of the fitting which matters significantly in a shower that is already at minimum dimensions.
The niche should be positioned on a non external wall wherever possible because cutting into an external wall for a recessed niche creates a thermal bridge that can cause condensation problems. An internal wall between the bathroom and another room is the ideal location. The niche depth should be a minimum of 100mm to hold standard shampoo bottles comfortably and the interior should be tiled in the same tile as the surrounding shower wall so it reads as part of the surface rather than an addition to it.
9. Use a Thermostatic Shower Valve for a Clean Wall
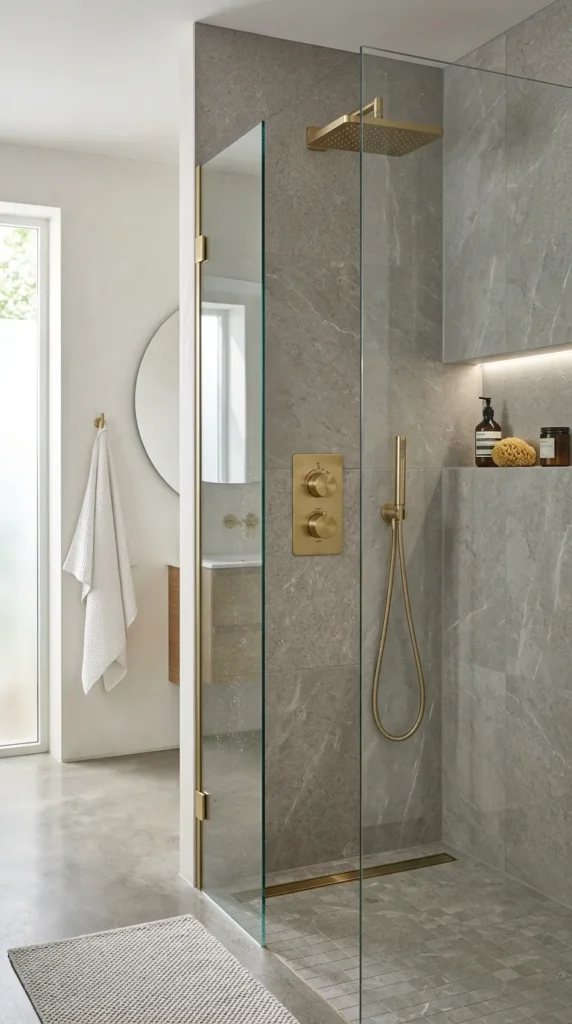
A thermostatic shower valve with a separate volume control rather than a conventional mixer tap reduces the number of controls on the shower wall to two slim fittings rather than a tap with a single large handle and a separate diverter. The smaller profile of thermostatic controls creates a cleaner shower wall with less visual complexity which matters in a small shower where every fitting is at close range and visible in detail.
Thermostatic valves also maintain a consistent water temperature regardless of pressure changes elsewhere in the plumbing system which is a practical advantage in any shower but particularly in a small bathroom in a house where multiple outlets share the same supply. The wall mounted position of thermostatic controls can be chosen to keep the control zone away from the shower head spray which makes adjusting the temperature and volume easier without getting wet.
10. Choose a Matte Finish on Shower Fittings
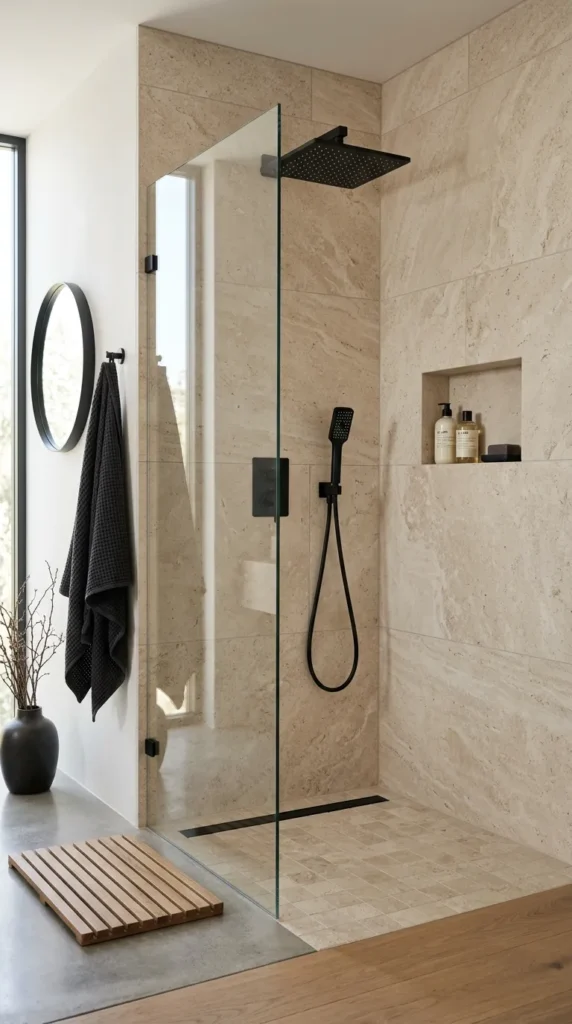
Matte finish shower fittings in black or brushed brass show water marks less readily than polished chrome or polished brass which means they require less frequent cleaning to look good. In a small shower where the fittings are always at close range and always visible this reduced maintenance requirement makes a genuine difference to how the shower looks on a daily basis rather than only immediately after cleaning.
Matte black fittings create a strong contrast against light tiles that reads as deliberate and designed. Brushed brass fittings against white or pale grey tiles creates warmth and a sense of considered luxury. Either finish coordinates with a wider range of tile colors than polished chrome which suits bathrooms where the tile color is the primary design decision and the fittings need to work alongside it.
Complete your bathroom makeover with these 18 Beautiful Bathroom Ideas for stylish inspiration in every size of space.
11. Keep the Glass Screen Clean With the Right Product and Habit
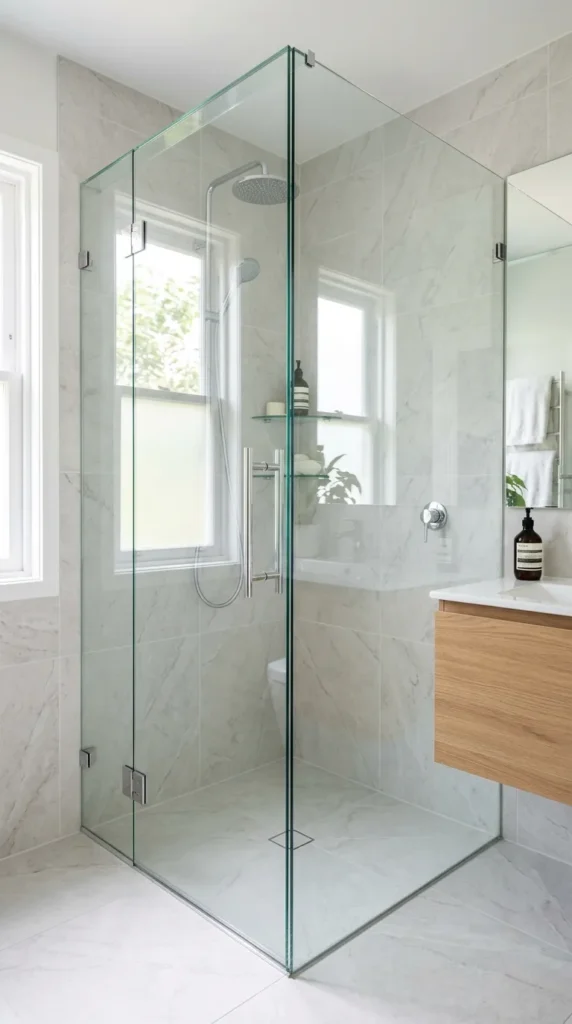
A glass shower screen in a small bathroom is always prominent because there is no distance from which it recedes into the background. A clean screen makes a small bathroom feel open and spacious. A screen covered in soap residue and water marks makes the same bathroom feel neglected and makes the glass look opaque rather than transparent which defeats its primary purpose of keeping the shower open to the room visually.
Squeegee the glass screen after every shower. It takes thirty seconds and prevents the buildup of mineral deposits that require aggressive cleaning products to remove once established. Apply a glass treatment product to the screen every few months to create a surface that water beads and runs off rather than sitting and drying into marks. These two habits maintained consistently keep the screen looking new and keep the bathroom feeling open rather than obscured.
12. Ventilate the Shower Zone Specifically
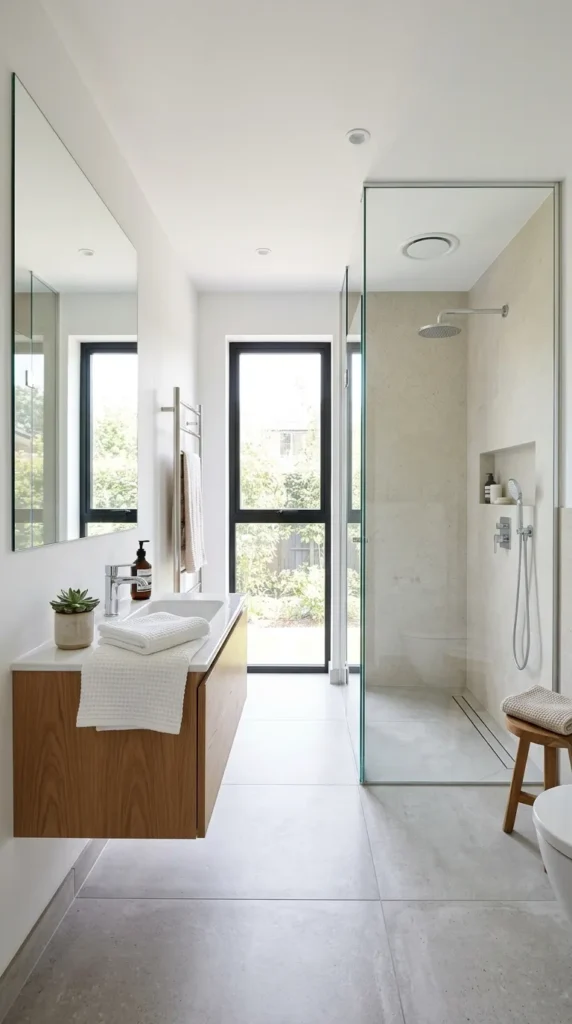
A walk in shower without a door creates a more humid bathroom than a fully enclosed shower because the steam from the shower distributes into the bathroom rather than being contained within the enclosure. Adequate ventilation is more important in a bathroom with a walk in shower than in one with a fully enclosed shower and the ventilation needs to be sized appropriately for the volume of steam the open shower produces.
An extractor fan positioned as close to the shower zone as the ceiling allows extracts steam at the source rather than waiting for it to distribute throughout the bathroom before extracting it. A fan with a humidity sensor that activates automatically when moisture levels rise ensures the ventilation runs whenever the shower is in use rather than depending on someone remembering to switch it on. Adequate ventilation prevents the condensation that leads to mold on grout and surfaces which is the most common maintenance problem in small bathrooms with walk in showers.
13. Light the Shower Separately From the Main Bathroom
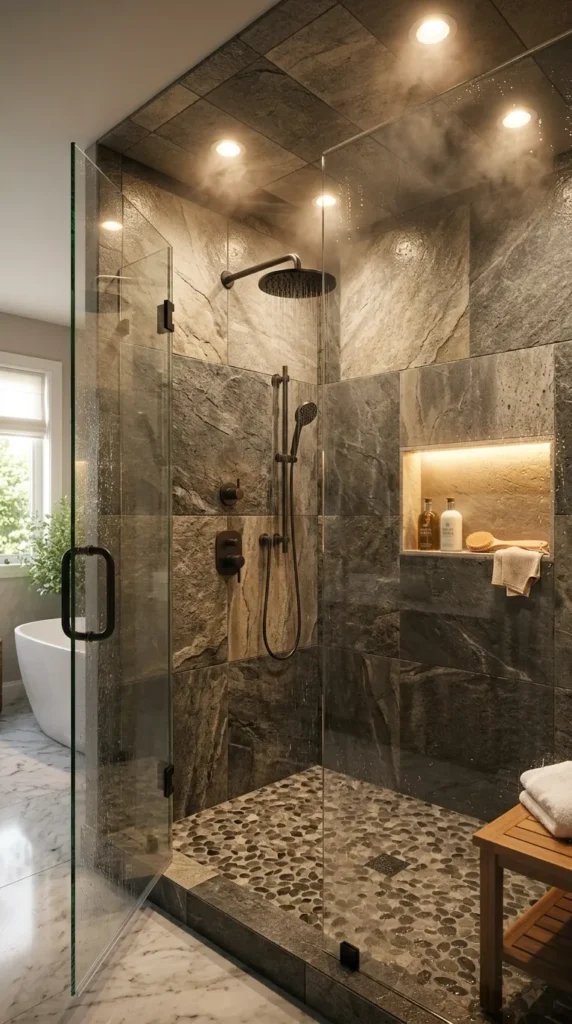
Shower lighting that is separate from the main bathroom light allows the shower to be well lit for use while the rest of the bathroom is at a lower ambient light level. This separation creates a bathroom with more atmospheric flexibility than one where a single light serves both zones simultaneously and makes the shower itself feel more considered as a space rather than simply a wet corner of the bathroom.
A recessed IP65 rated downlight positioned within the shower zone provides direct light for the shower without requiring the main bathroom light to be at full brightness simultaneously. Two small recessed lights within the shower are better than one because they illuminate both the user and the shower walls rather than creating a single bright point that casts shadow. The lights should be positioned forward of the shower head rather than behind it so the light falls on the front of the user rather than silhouetting them.
14. Install Grab Rails That Look Intentional
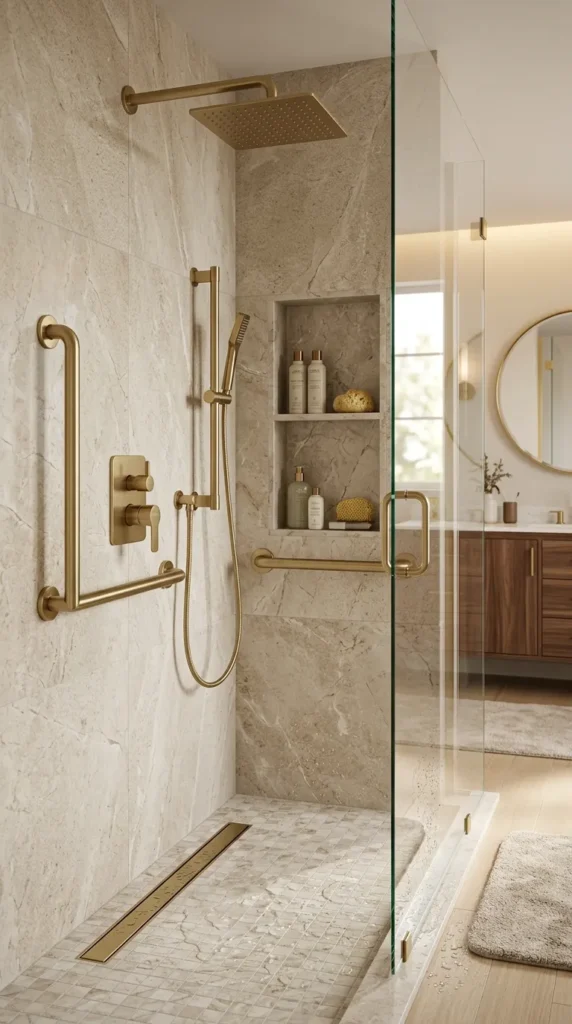
Grab rails in a shower are a safety feature that most people defer until they feel they need them which means they are typically added retrospectively in a style and finish that does not coordinate with the rest of the shower fittings. Installing grab rails during the initial shower fit out in a finish that matches the shower controls and shower head creates rails that look like a deliberate design choice rather than a retrofit safety addition.
Grab rails in brushed brass or matte black that match the shower valve and shower head finish are available from the same fitting ranges as the other shower hardware. Positioned correctly at the entry point to the shower and at the shower head end of the shower they provide genuine safety support while reading as part of the overall shower design rather than as an addition that postdates it.
15. Heat the Bathroom Floor Rather Than Just the Air
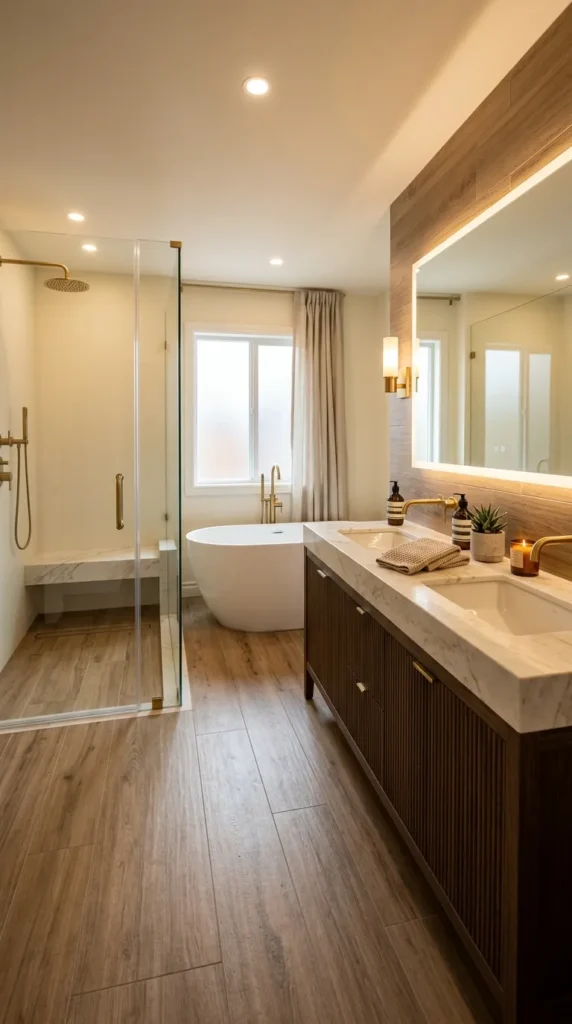
A small bathroom with a walk in shower benefits from underfloor heating more than a larger bathroom does because the floor area relative to the total room volume is greater which means heated floors contribute more efficiently to the overall warmth of the room. Underfloor heating also eliminates the cold tile underfoot that is the most common discomfort in a small bathroom used first thing in the morning.
Electric underfloor heating mats installed under the tile during bathroom renovation are the most practical retrofit option for small bathrooms because they require no changes to the existing heating system and can be controlled by a separate thermostat set to warm the floor before the bathroom is used in the morning. The heated floor also dries the bathroom floor more quickly after showering which reduces the slipping risk from wet tile and reduces the humidity from standing water that remains after the shower finishes.
16. Treat the Walk In Shower as the Room’s Best Feature
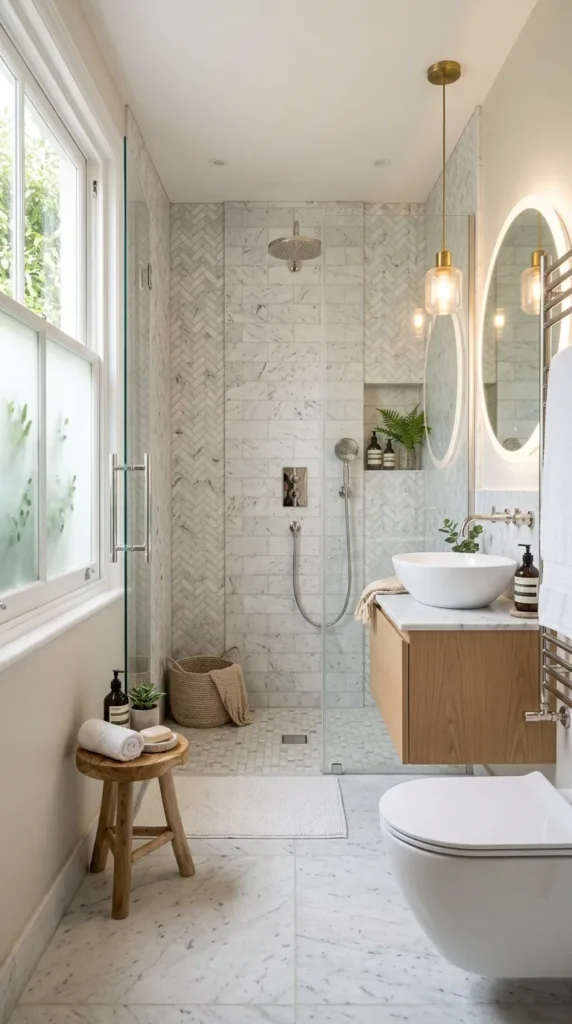
The decision to include a walk in shower in a small bathroom is worth making visible rather than minimizing. A walk in shower is a genuinely desirable feature and designing the rest of the small bathroom to celebrate it rather than to crowd around it creates a room with a clear hierarchy and a clear focal point that feels considered rather than compromised.
Give the shower the best wall, the most light, the most generous tile budget, and the clearest floor approach. Keep the other fixtures simple and positioned to create clear floor space in front of the shower entry. Design the lighting to flatter the shower zone. Choose fittings for the shower in a finish that is slightly more considered than the rest of the bathroom fittings so the shower reads as the room’s priority. A small bathroom built around a well designed walk in shower as its primary feature is a more desirable room than a large bathroom where the shower is one element among many given equal weight.
Final Thoughts
A walk in shower in a small bathroom is not a compromise. It is often the best shower option for a small space because it removes the door, the tray edge, and the enclosure frame that make conventional showers feel smaller than they are and replaces them with open space, continuous flooring, and the kind of visual lightness that makes the bathroom feel larger than its measurements suggest.
Get the minimum dimensions right. Use a linear drain and the same tile throughout. Go frameless on the screen. Position the shower head correctly. Light it separately. Then step back and notice that the small bathroom with a well designed walk in shower feels more generous and more considered than the same room with a shower tray and an enclosure door ever did.