17 Small Shower Ideas With Big Impact
Small showers get a bad reputation they do not fully deserve. The complaints are always the same. Not enough room to move. Water going everywhere. Nowhere to put the shampoo. Feeling closed in. These are real problems but they are problems of poor design rather than problems of size. A small shower designed well does not feel like a compromise. It feels like a private and considered space where the limitations of the footprint have been thought through carefully enough that none of them are apparent when you are actually standing in it.
I have used enough poorly designed large showers and well designed small ones to know that size matters far less than the decisions made within whatever size is available. The right tile, the right screen, the right shower head, the right drainage, the right lighting. Each decision either works against the size of the shower or works with it and the cumulative effect of decisions that consistently work with the space is a shower that feels significantly better than its dimensions suggest it should. These 17 ideas are the ones that make the biggest difference in a small shower regardless of the specific dimensions involved.
1. Raise the Shower Head Higher Than Standard
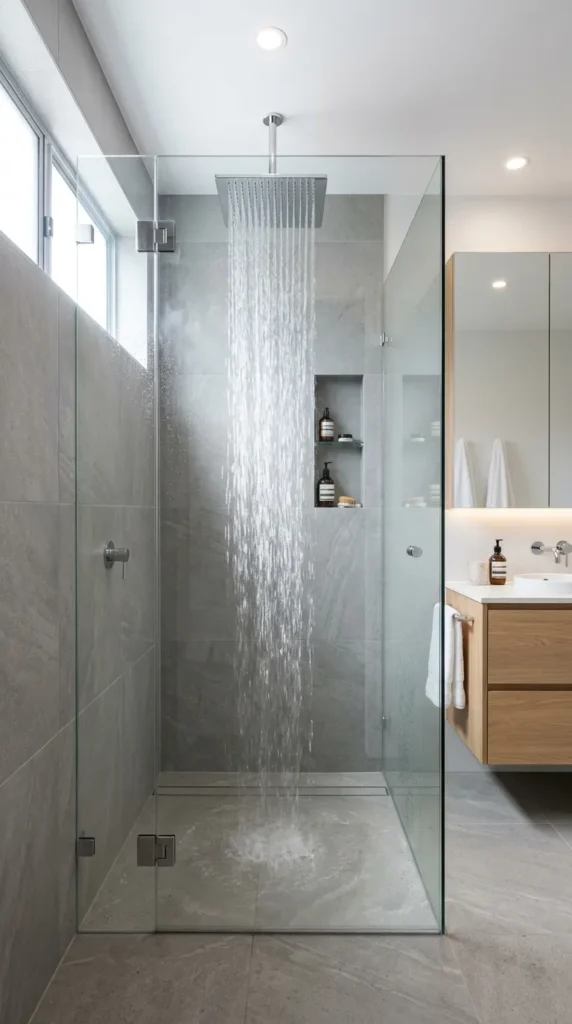
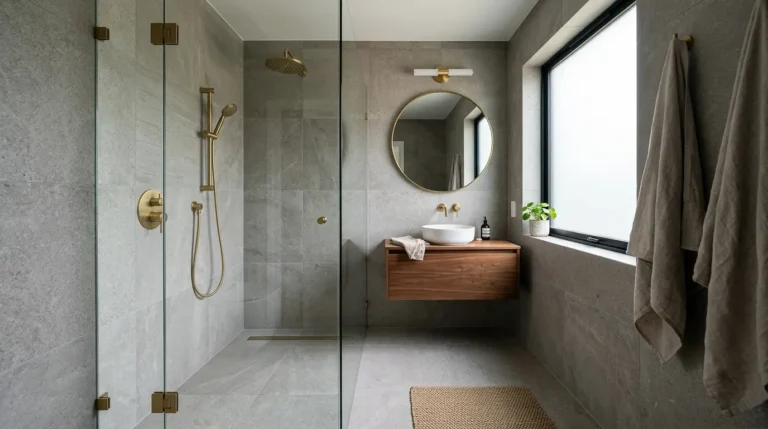
A shower head positioned at standard height in a small shower directs the spray at shoulder level which means the water hits the body at a point that pushes spray toward the walls and out of the shower zone. Raising the shower head to ceiling height or as high as the ceiling allows directs the water downward from above which keeps the spray within the shower footprint more effectively and creates a more immersive and comfortable showering experience in a compact space.
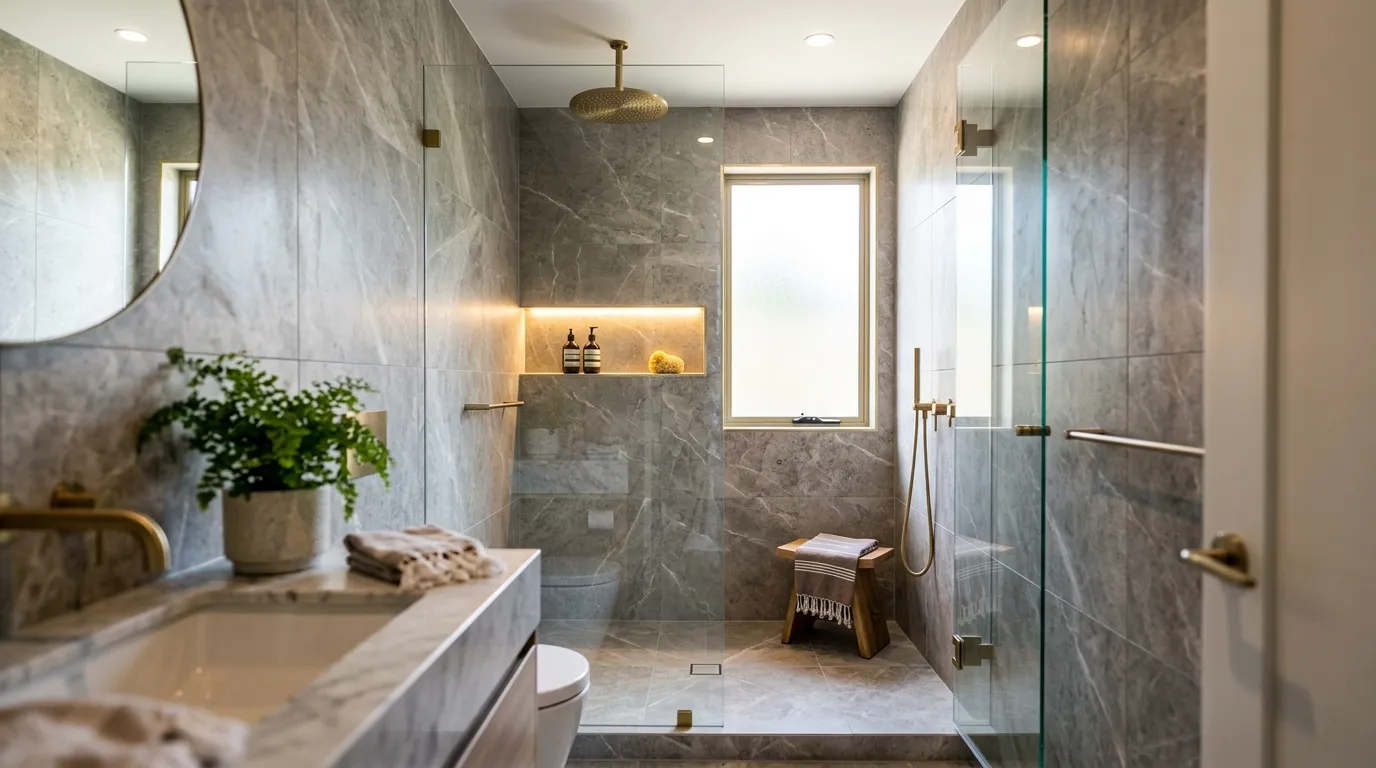
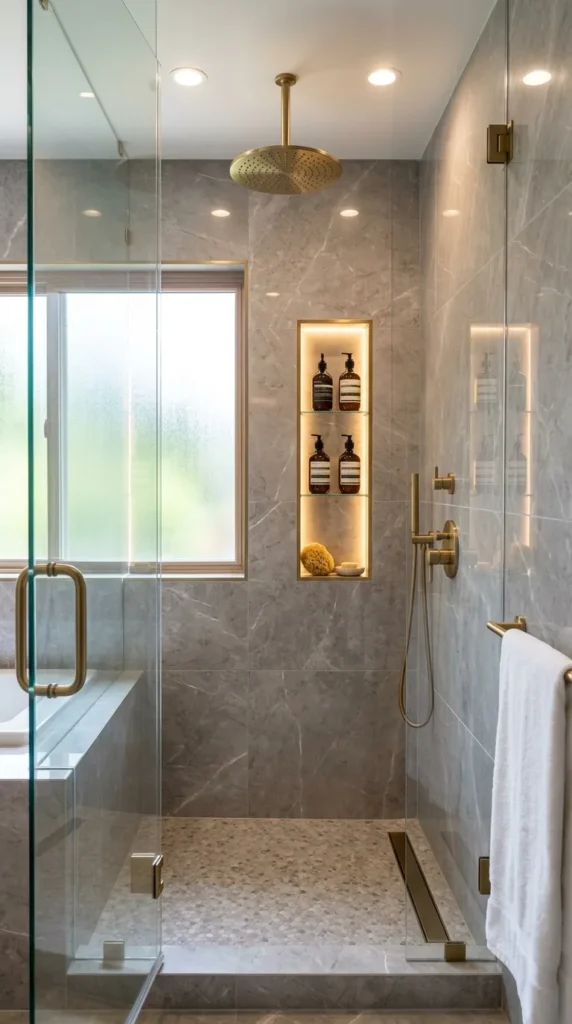
A ceiling mounted rain shower head in a small shower is one of the single most impactful changes available because it changes the entire quality of the experience from a spray of water hitting a specific point on the body to a fall of water covering the whole body at once. The overhead position also removes the shower head from the wall surface which frees wall space for a niche or a control panel without the shower head competing for the same surface.
2. Install a Niche Rather Than Any Surface Shelf
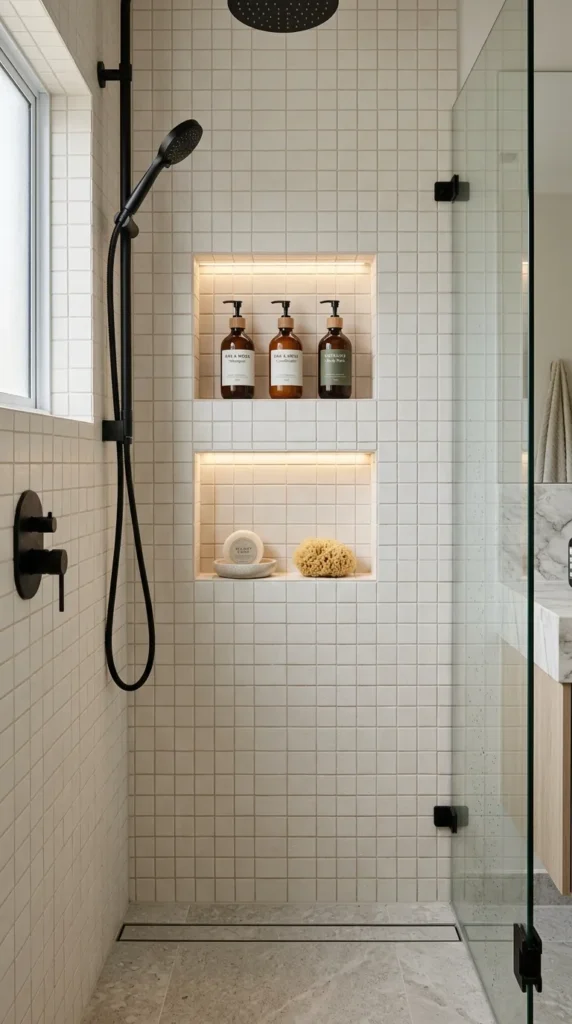
A recessed niche built into the shower wall during tiling holds all shower products within the shower zone without projecting into the already limited space. A corner caddy, a hanging shelf, or a surface mounted bracket all reduce the usable internal dimension of the shower by their own depth which in a small shower is depth the space cannot afford to lose.
Two niches at different heights serve different product sizes better than one. A taller niche for shampoo and conditioner bottles at a higher position and a shallower niche for soap and a razor at a lower position creates dedicated zones for different products that keep the shower organized without requiring a single large shelf that dominates a wall. Tile the niches in the same tile as the surrounding wall so they read as part of the surface rather than as additions to it.
3. Use Large Format Tiles to Reduce Grout Lines
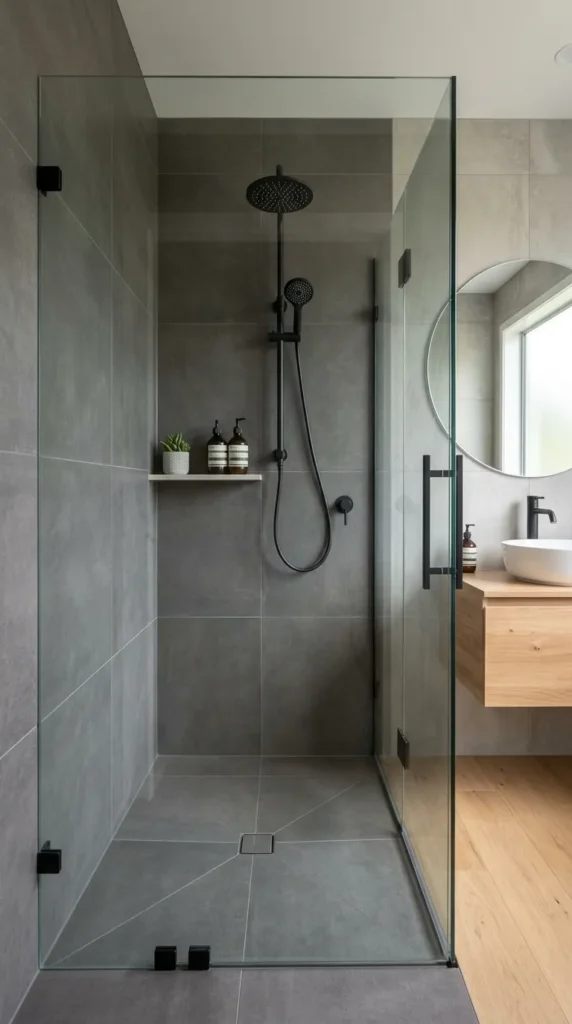
Large format tiles in a small shower create fewer grout lines than smaller tiles which makes the shower walls and floor read as more continuous and more expansive. A 600mm by 600mm tile on a shower wall that is 900mm wide creates only one and a half tiles per row and very few horizontal grout lines. The same wall in 100mm by 100mm mosaic tile creates nine tiles per row and many more horizontal interruptions that segment the surface visually and make the space feel smaller.
The grout color reinforces this effect. Grout matched to the tile color minimizes the grout lines further and allows the surface to read as nearly continuous. Contrasting grout emphasizes every line and segments the surface into individual tile units which is the opposite of what a small shower needs. Large tile plus matched grout is the most effective single tiling decision for making a small shower feel larger.
Planning a walk-in shower? Check out Fitting a Walk-In Shower in a Small Bathroom for practical layout and design tips.
4. Go Frameless on the Screen or No Screen at All
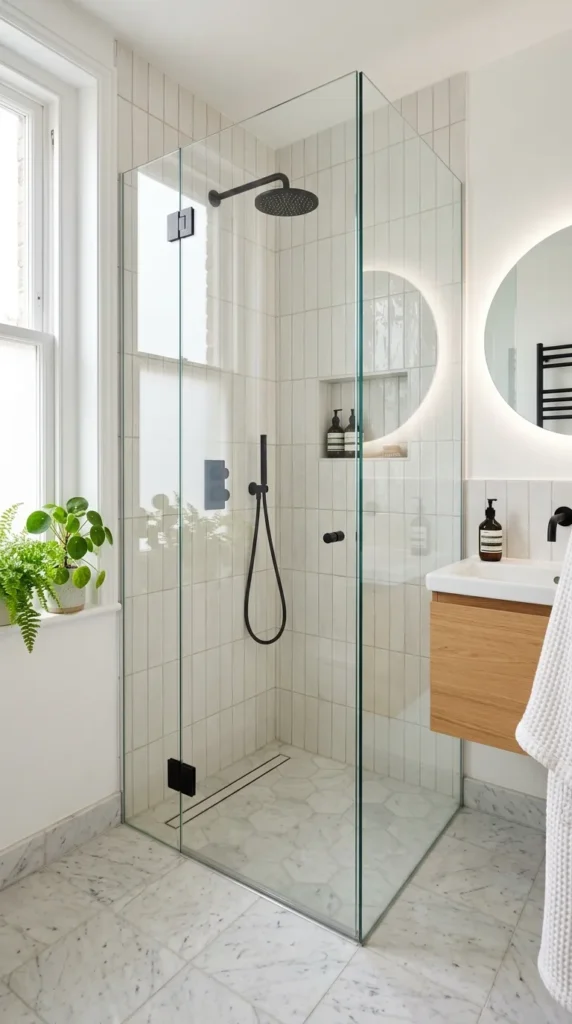
A framed shower screen in a small shower adds visual weight at the point where the shower meets the bathroom which is already the most visually complex zone in a small bathroom. The frame creates a border that the eye stops at rather than traveling through which makes the shower feel more enclosed than a frameless screen or an open shower entry.
A frameless glass panel removes the frame weight while keeping the glass that allows the eye to travel through the shower space. A completely open shower entry with no screen removes even the glass boundary which creates the most spatially generous result of all three options. The open entry only works when the shower layout directs water away from the bathroom floor effectively but when the layout allows it the absence of any screen makes both the shower and the bathroom feel significantly more open.
5. Waterproof the Entire Shower Room Rather Than Just the Shower Zone
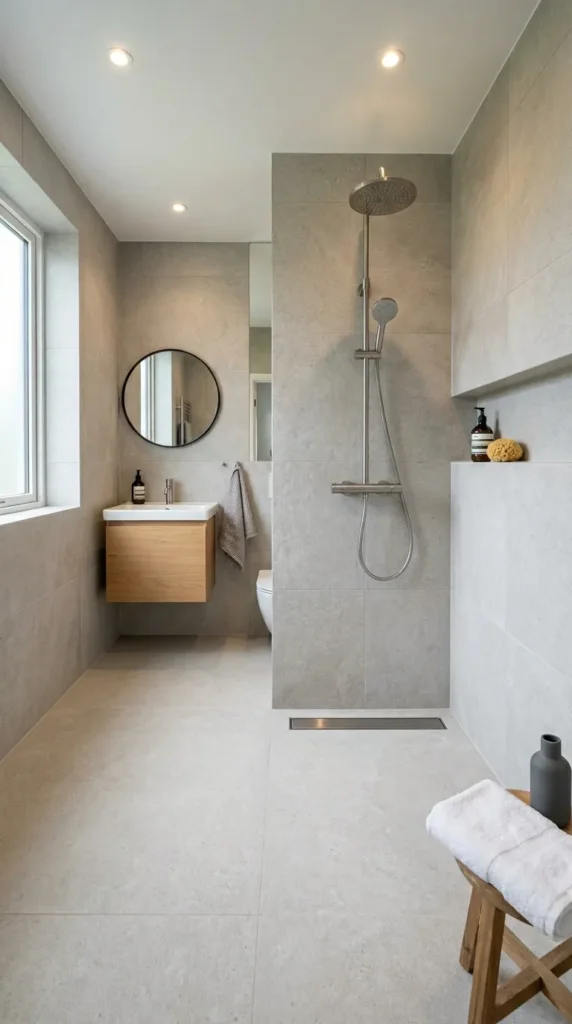
Waterproofing only the shower zone and treating the rest of the bathroom as a dry area creates a hard boundary between wet and dry that requires a shower enclosure with a door or screen to maintain. Waterproofing the entire bathroom floor and lower walls removes the necessity for a shower boundary entirely and allows the shower to flow into the bathroom as a wet room without defined edges.
A fully waterproofed bathroom floor with a single linear drain handles water from the shower without requiring any enclosure to direct it. The shower becomes a zone within the room defined by the position of the shower head and the drainage rather than by walls, screens, or trays. This approach creates the most spatially generous and the easiest to clean small shower configuration available because the entire floor is the shower floor and the entire room is the wet room.
6. Choose a Thermostatic Valve With Slim Profile Controls
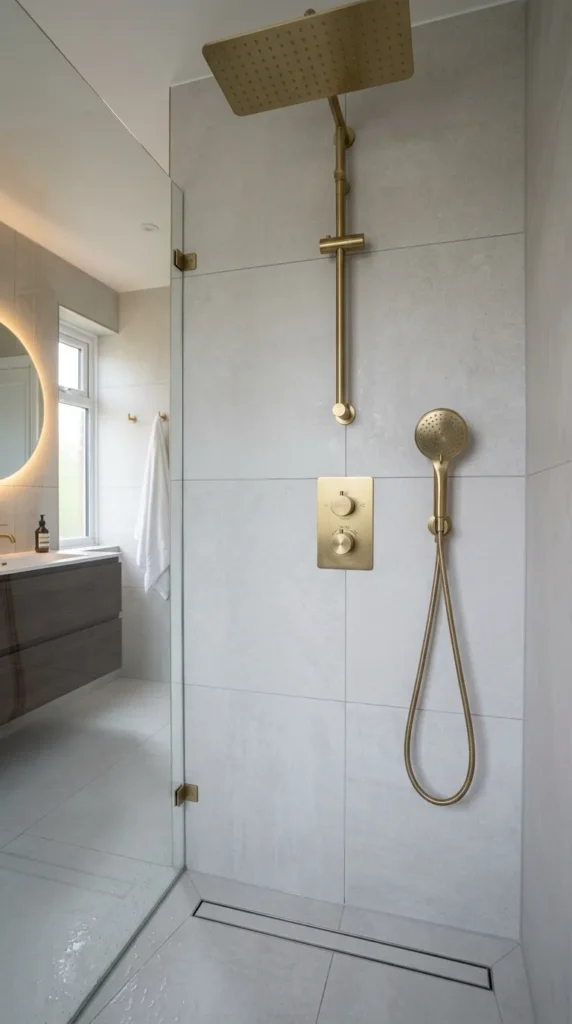
Shower controls in a small shower occupy wall space that is already limited and compete for surface with the niche, the shower head, and any grab rail. Thermostatic valves with slim profile round or square plates rather than large lever or knob controls reduce the visual complexity of the shower wall and leave more of the surface reading as clean tile rather than fitting.
Slim profile controls in a finish that coordinates with the tile rather than contrasting strongly with it reduce the visual impact of the control wall further. A matte black valve on dark grey tile reads as less prominent than a polished chrome valve on the same tile because the lower contrast between fitting and tile surface reduces the fitting’s visual weight. In a small shower where every fitting is at close range reducing visual weight matters more than in a larger shower where fittings recede with distance.
7. Light the Shower From Above Not From the Side
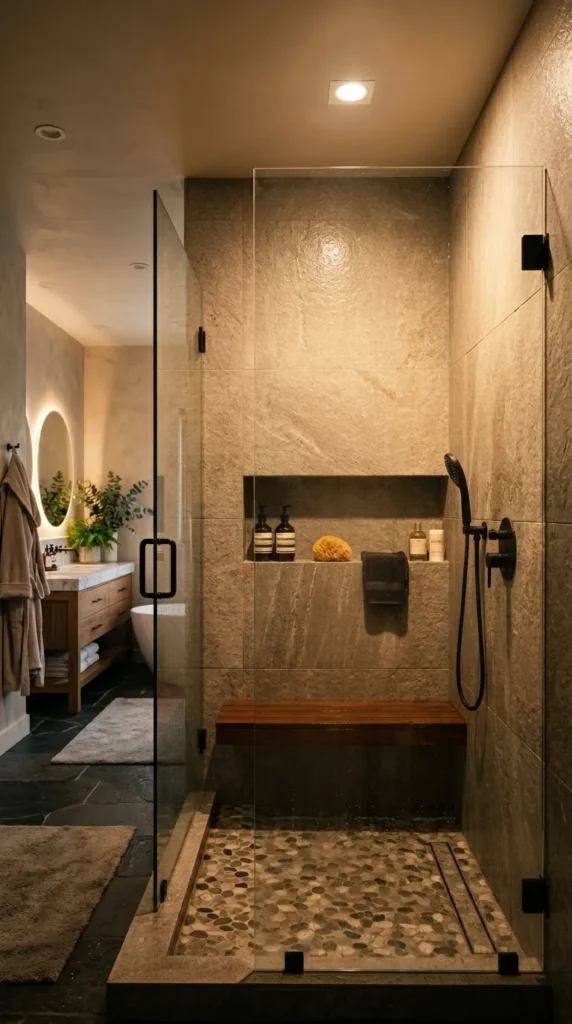
Side lighting in a small shower creates shadow on one side of the body and bright light on the other which is uncomfortable and unflattering. A light positioned directly above the shower zone illuminates the shower evenly from above in the same way that a rain shower head distributes water and creates a comfortable and flattering light quality within the small space.
A single IP65 rated recessed downlight centered above the shower zone is sufficient for a shower up to about 1000mm square. A larger shower benefits from two lights to prevent shadow. The light should be on a separate circuit from the main bathroom light so the shower can be well lit without requiring the main bathroom to be at full brightness simultaneously. Warm bulbs at 2700K create a more pleasant showering environment than cool white bulbs which make skin look pale and the water look cold.
8. Extend the Shower Height to the Ceiling
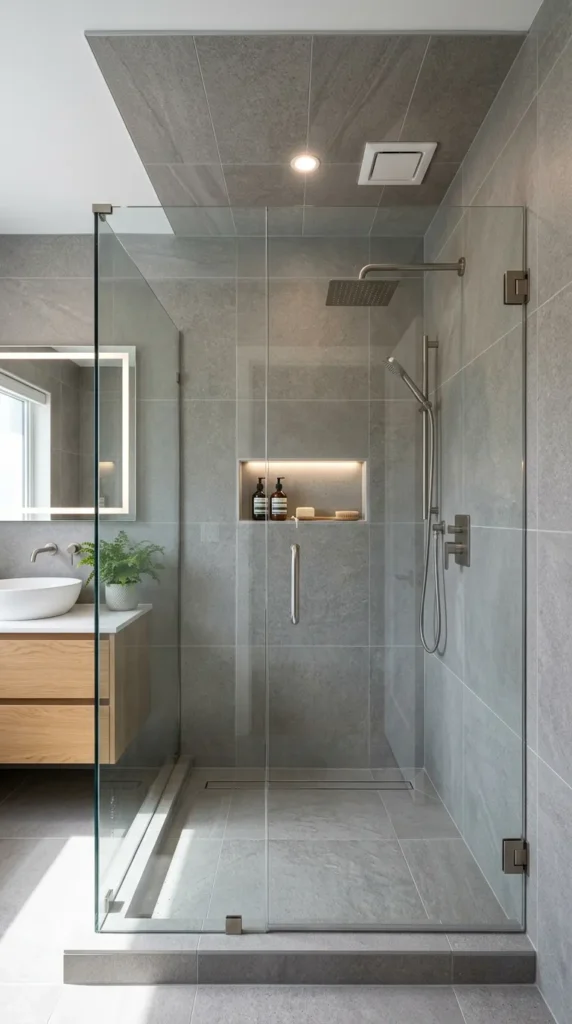
A shower that is tiled to ceiling height rather than stopping at a mid level and transitioning to painted wall above feels taller and more complete than a partial height tile treatment. The ceiling height tile removes the horizontal line where tile meets paint which is a visual interruption that makes the shower feel lower than it is.
If the ceiling of the bathroom is tiled in the same tile as the shower walls the shower becomes a fully tiled box that feels like a contained and considered space rather than a corner of a bathroom that has been made wet resistant to a certain height. A ceiling tiled in the same large format tile as the walls with no transition creates a shower interior with genuine depth and enclosure that partial height tiling cannot achieve regardless of the quality of the tile itself.
9. Keep All Fittings in a Single Finish Throughout
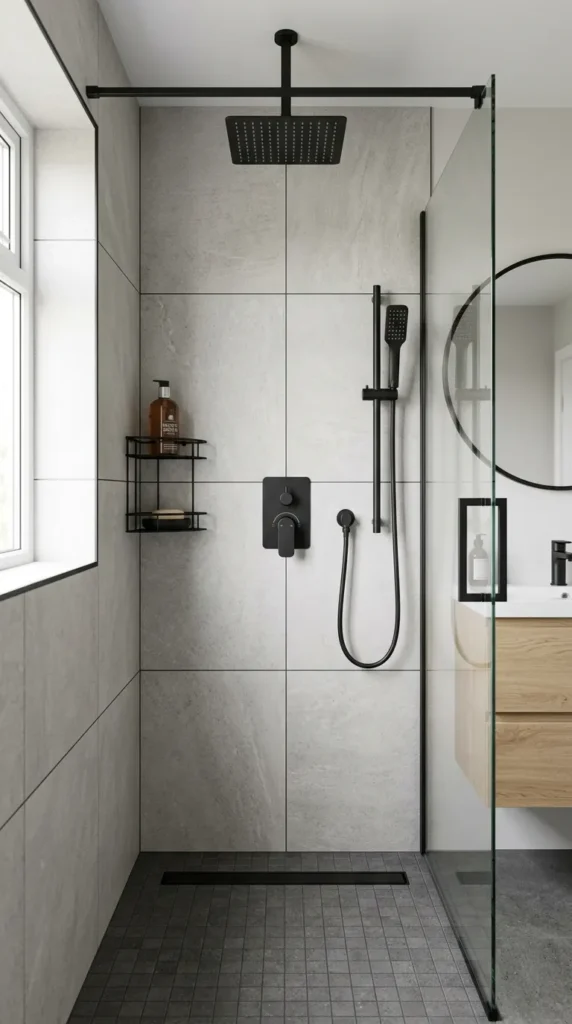
Multiple fitting finishes in a small shower create visual noise because every finish change is a color change and every color change at close range is a distraction. A shower where the shower head, the valve, the drain cover, the grab rail, and any hook or rail are all in the same finish reads as considered and intentional. The same shower with fittings in three different finishes reads as assembled from whatever was available.
Choose one finish before buying any fitting and source every component in that finish even when it requires more effort than buying the nearest available alternative. Brushed brass, matte black, brushed nickel, and polished chrome are all available across complete shower fitting ranges from most manufacturers. The discipline of a single finish throughout a small shower is one of the lowest cost and highest impact design decisions available.
10. Add a Folding Teak Seat for Versatility
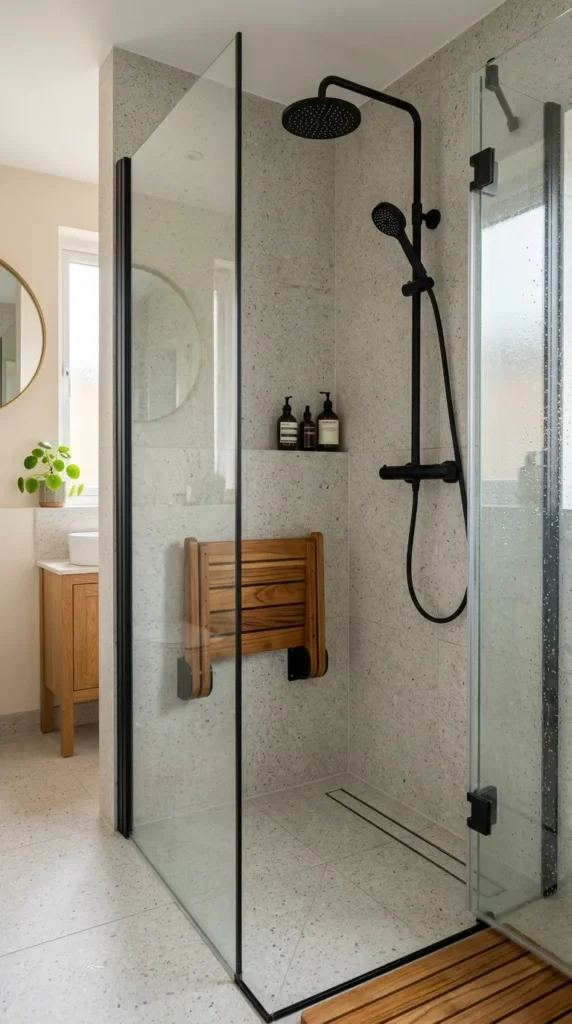
A folding teak seat mounted to the shower wall folds flat against the wall when not in use and creates a shower seat when needed without permanently occupying floor space. In a small shower a fixed seat reduces the usable floor area significantly. A folding seat contributes nothing to the floor area when folded and provides a genuine seat when unfolded.
A teak seat also adds warmth and organic texture to a shower that might otherwise be entirely tile, glass, and metal. The natural material contrast created by teak against tile is one of the most effective ways to add warmth to a small shower without introducing pattern or color complexity. A teak seat is also the most durable material for a wet environment because the natural oils in the wood resist moisture and prevent the warping and deterioration that other wood species experience in shower conditions.
11. Paint the Ceiling the Same Color as the Walls
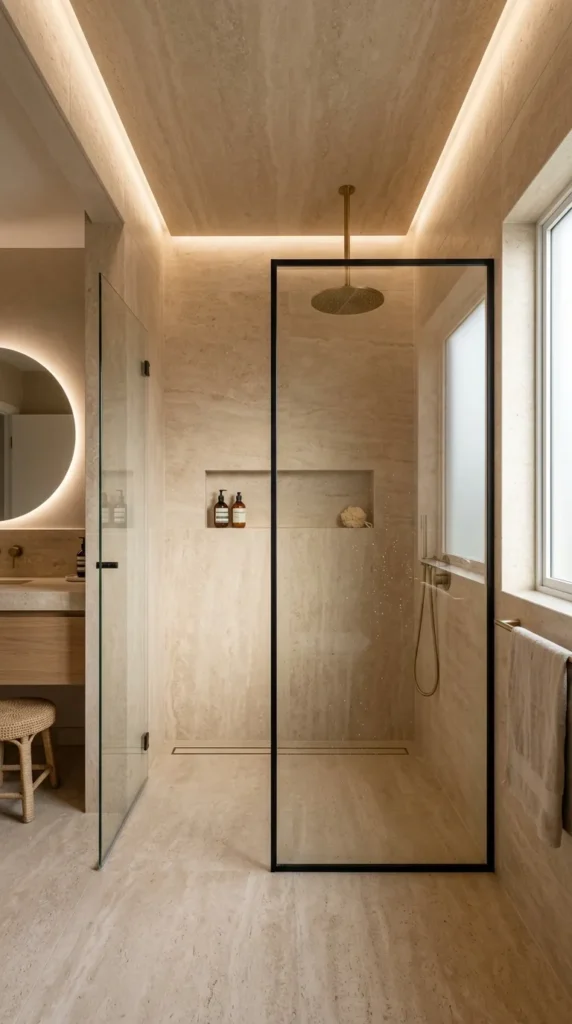
A white ceiling above a tiled shower creates a color change at the ceiling junction that makes the ceiling feel lower and the shower feel more enclosed. Painting the ceiling in the same tone as the dominant tile color removes that color change and allows the eye to travel upward without stopping at a horizontal boundary which makes the shower feel taller.
In a fully tiled shower where the walls go to the ceiling this is achieved automatically. In a shower where the tile stops below the ceiling level and the upper wall and ceiling are painted, using the same paint color on both the upper wall and the ceiling removes the ceiling junction as a visual boundary and creates a continuous surface that reads as taller than a two tone wall and ceiling treatment.
12. Use a Handheld Shower on a Sliding Rail
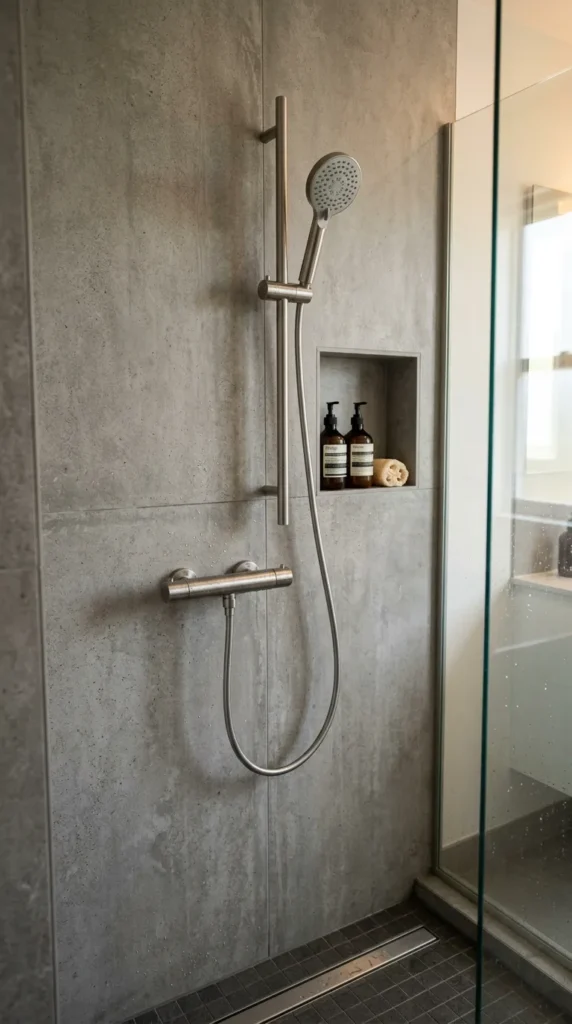
A handheld shower on a sliding rail rather than a fixed shower head at a single height provides flexibility for users of different heights and for different washing tasks without requiring multiple fixed shower heads that would crowd the wall of a small shower. The sliding rail allows the height to be adjusted for each user and the handheld function allows the shower to be directed precisely where needed.
A slim profile rail in a single finish that coordinates with the other shower fittings takes up minimal wall space. A rail positioned on the long wall of a rectangular shower leaves the short wall available for the shower valve and niche without the rail and shower head competing for the same surface. The combination of valve on one wall and rail on the adjacent wall distributes the fittings across two surfaces which reduces the visual complexity of any individual shower wall.
Looking beyond the shower? Browse 18 Beautiful Bathroom Ideas for complete bathroom design inspiration.
13. Create Contrast With One Feature Tile
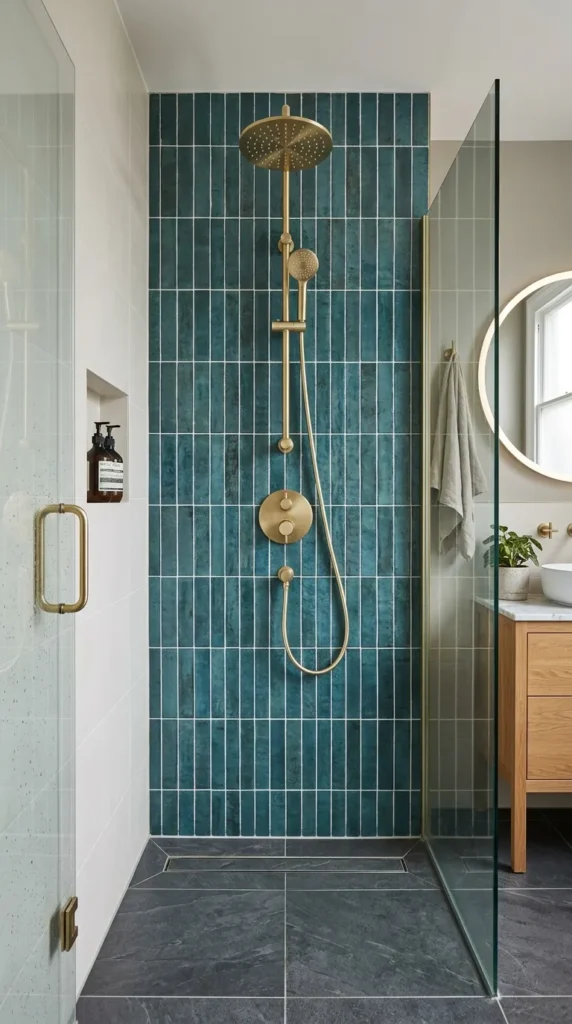
A single feature tile used on one wall of a small shower creates visual interest and defines the shower zone without requiring pattern across all surfaces. One wall in a textured or patterned tile with the remaining three walls in a coordinating plain tile creates a shower with personality and direction that a single tile throughout does not achieve while keeping the visual complexity controlled enough that the small space does not feel overwhelming.
The feature wall should be the wall opposite the shower entry or the wall the shower head is mounted on so it is the surface the bather faces and appreciates during the shower. A feature tile on a side wall is less effective because it is seen from the side rather than face on. The feature tile should coordinate in color temperature with the plain tile on the remaining walls rather than contrasting strongly which would create too much visual complexity in a small space.
14. Seal the Grout Properly and Reseal Annually
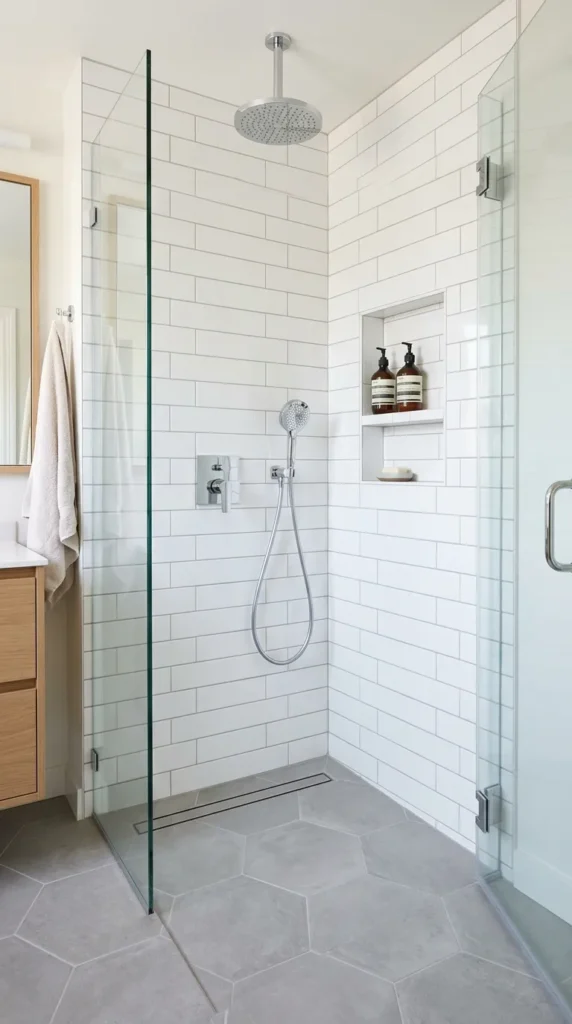
Grout in a small shower is always visible at close range and stained or mold affected grout makes the entire shower look neglected regardless of how good the tile and fittings are. Sealing the grout immediately after installation and resealing annually prevents the moisture penetration that leads to mold growth and the staining that changes white grout to grey or black over time.
Epoxy grout rather than cement based grout is the most durable option for shower applications because it is non porous and therefore does not require sealing and does not support mold growth. The higher cost of epoxy grout is justified by the elimination of the ongoing maintenance that cement grout requires and the consistently clean appearance it maintains over years of use without the deterioration that cement grout experiences even with regular sealing.
15. Ventilate Generously to Prevent Mold
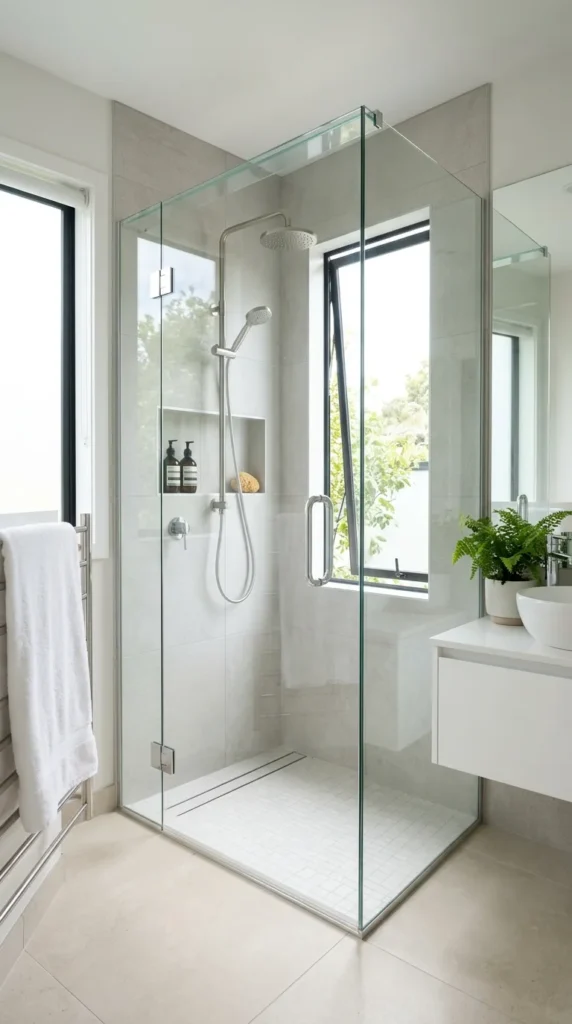
A small shower produces a proportionally large amount of steam relative to the room it occupies because the shower zone is a significant portion of the total bathroom area. Without adequate ventilation the steam from a small shower saturates the bathroom air and surfaces quickly and creates the conditions for mold growth on grout, silicone seals, and wall surfaces.
An extractor fan sized for the volume of the bathroom rather than the minimum recommended is worth the small additional cost because it clears the steam from a small shower faster and reduces the period during which condensation sits on surfaces. A humidity sensing fan that activates automatically when moisture levels rise and continues running until the humidity returns to normal ensures ventilation happens consistently without depending on someone remembering to switch it on and off at the right times.
16. Replace Old Silicone Seals Before They Discolor
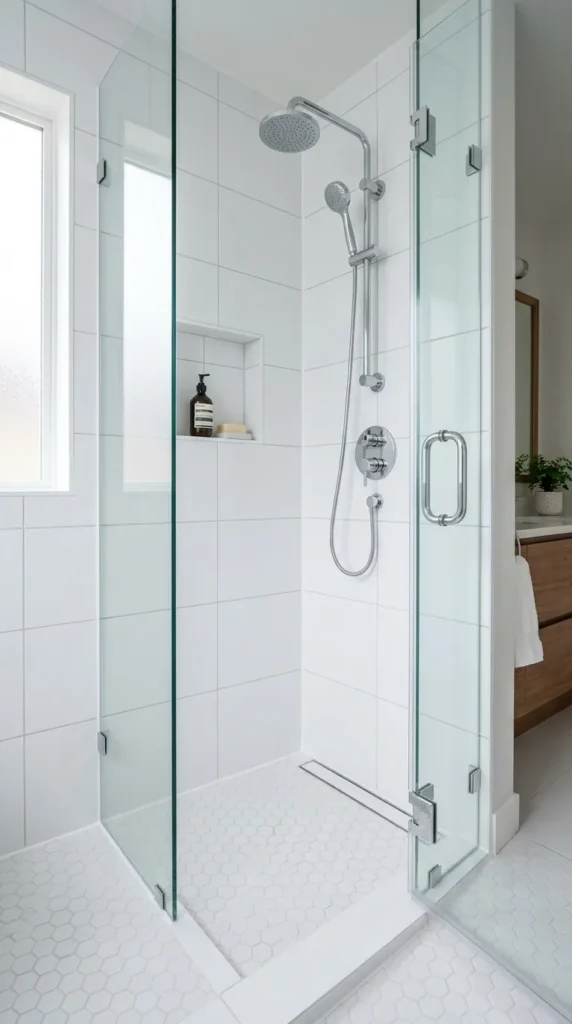
Silicone seals at the joints between tiles and fittings in a small shower are always visible at close range and discolored or mold affected silicone is one of the most common reasons a small shower looks worse than it should despite having good tile and fittings. Old silicone cannot be cleaned back to white once it has discolored. It needs to be removed completely and replaced with fresh silicone.
Replacing discolored silicone is a straightforward job that costs very little and immediately improves the appearance of a shower more than almost any other maintenance task. Fresh white silicone against clean tile makes the shower look newly installed regardless of its actual age. Use an anti mold silicone specifically formulated for shower applications rather than standard bathroom silicone because the anti mold formulation resists discoloration significantly longer than standard products.
17. Edit the Products Visible in the Shower to the Minimum
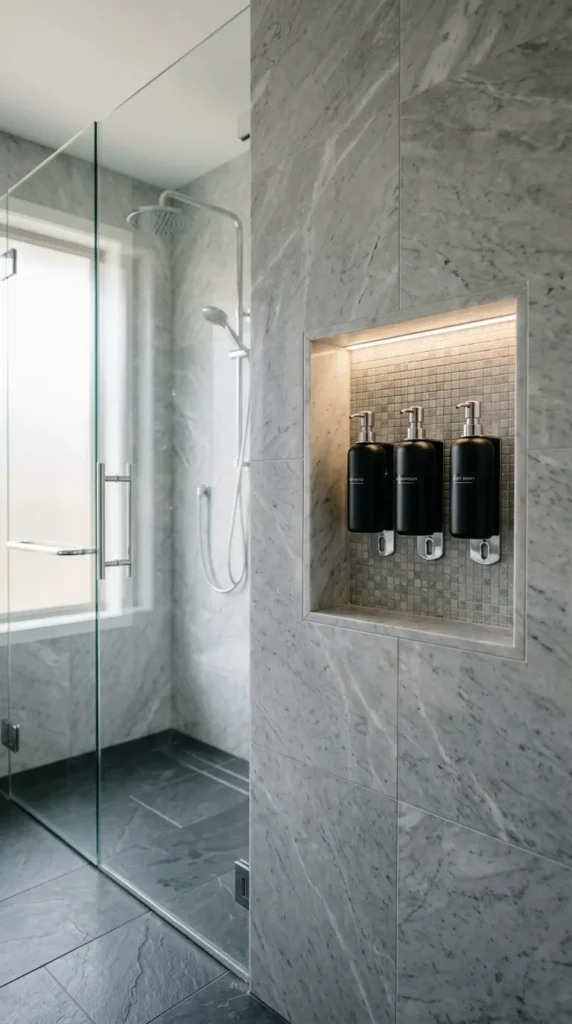
Every product bottle left in a small shower is visible at close range and a collection of shampoo bottles, conditioner, body wash, face wash, shaving products, and miscellaneous items creates visual clutter that makes the shower feel smaller and less calm than the same shower with only the products currently in use present.
Decanting shower products into matching dispensers mounted to the wall or placed in the niche removes the visual complexity of multiple different bottle shapes, sizes, and label designs and replaces them with a coordinated set of containers that read as part of the shower design rather than as a collection of shopping. Three matching dispensers in a material that coordinates with the shower fittings, brushed brass, matte black, or simple white, occupy less visual space and less physical space than the equivalent products in their original packaging and make the shower feel considered rather than crowded.
Final Thoughts
A small shower with big impact is built from decisions that consistently work with the space rather than against it. Raising the shower head. Going frameless on the screen. Using large tiles with matched grout. Keeping fittings in a single finish. Lighting from above. Recessing the storage. Editing the products to the minimum. None of these are expensive decisions and none of them require significant construction work but together they create a shower that performs and feels far beyond what its dimensions suggest is possible.
Start with the decisions that cost nothing, the product editing, the grout resealing, the silicone replacement, and notice how much the shower improves before spending anything. Then work through the ideas that require investment in the order of impact for the specific shower you have. The small shower that results from that process will feel like more than enough.